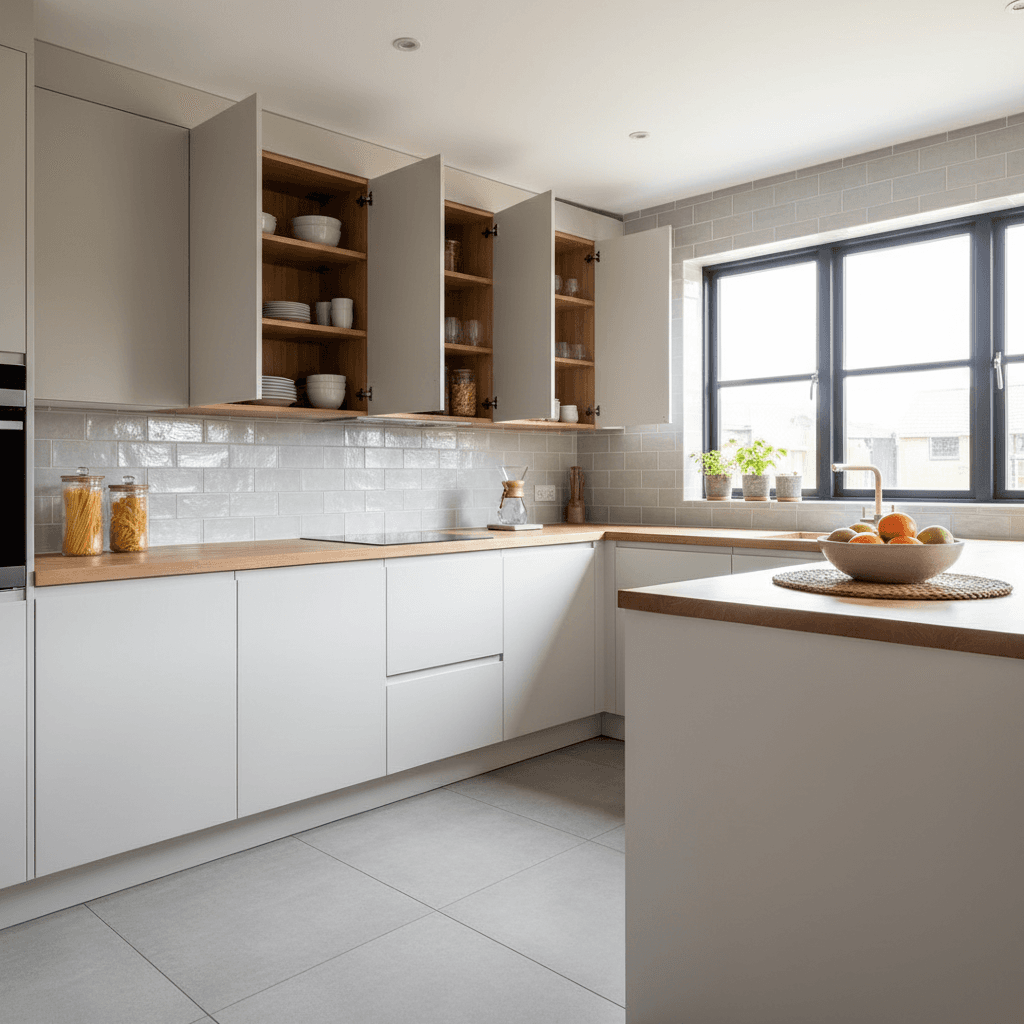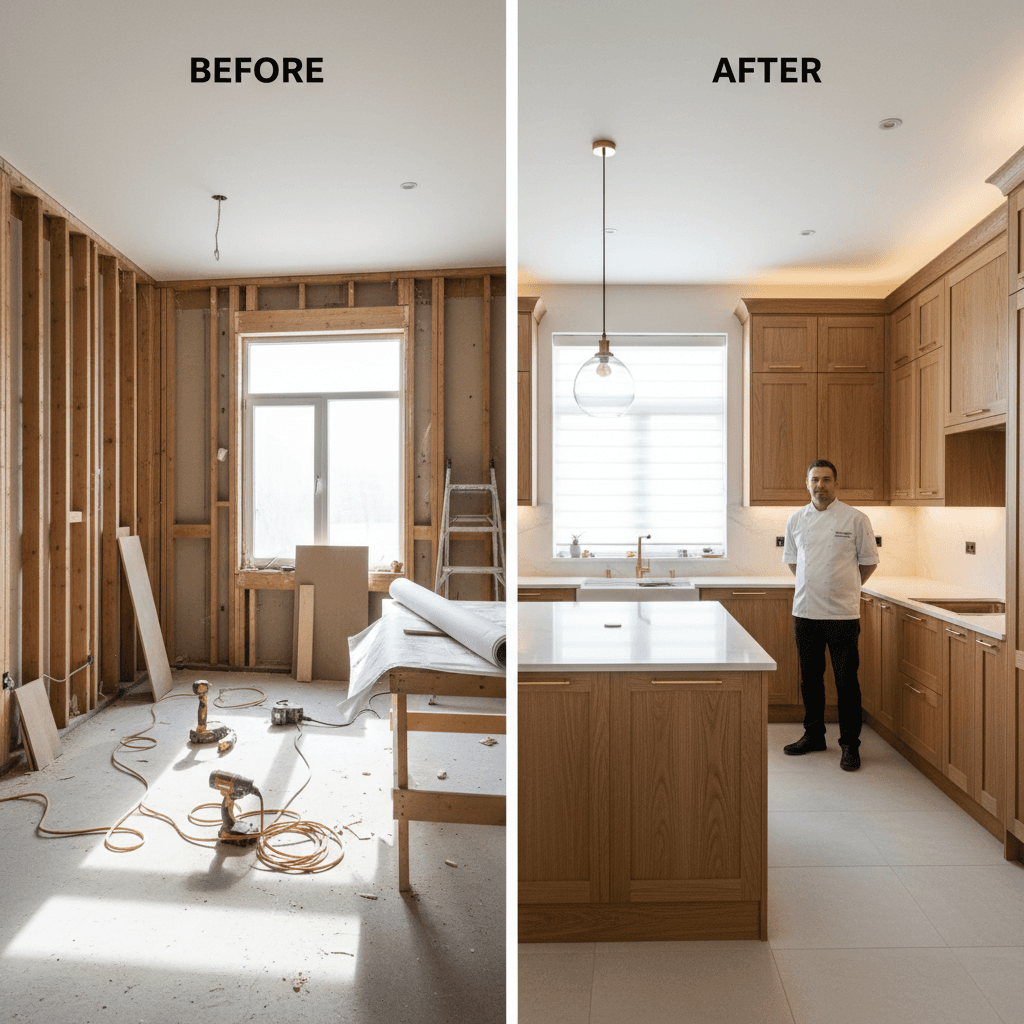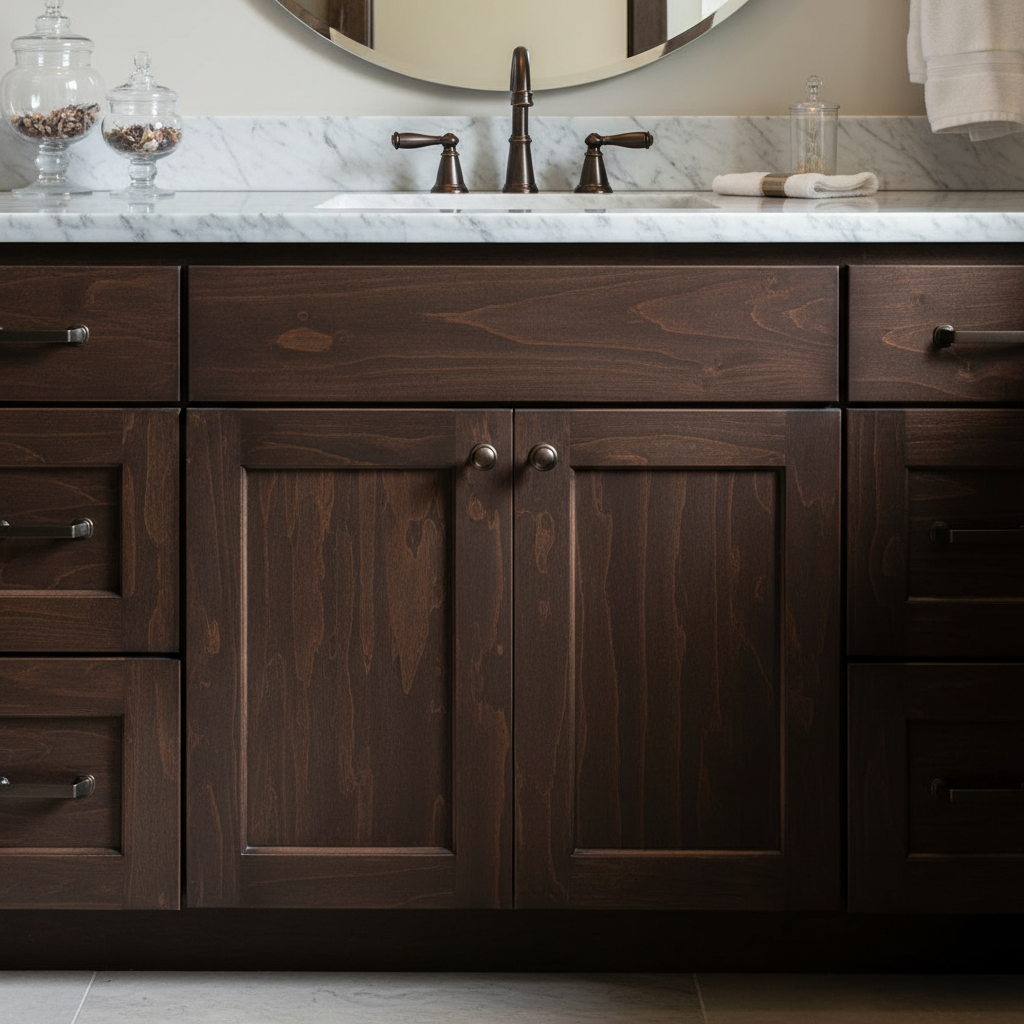
Professional bathroom cabinet installation requires selecting moisture resistant materials like MR MDF and applying protective seals to prevent humidity damage. For a level and secure fit, installers should identify the highest point of the floor and join individual units together before anchoring them to the wall.
A bathroom renovation often starts with high expectations but can quickly devolve into a series of structural failures if the cabinet installation is handled poorly. Many homeowners and contractors struggle with the persistent challenge of high humidity, which leads to warping, mold, and premature wood rot. At Gobes Cabinets, we believe that a truly luxury vanity must be built to withstand the unique rigors of a wet environment. This guide explores the technical side of professional installation, from selecting superior moisture-resistant materials to identifying the subfloor’s high point for a perfectly level finish. You will learn the specific techniques required to secure cabinets to the wall with maximum stability; furthermore, we will share professional-grade secrets for long-term protection against water damage. By mastering these installation best practices, you ensure that your investment remains as functional and beautiful as the day it was installed.
The Unique Challenges of Bathroom Cabinet Installation
Bathroom cabinet installation presents a distinct set of technical hurdles that go beyond the requirements of a typical kitchen project. While the arid climate of Fillmore generally minimizes humidity concerns for home interiors, the micro-climate inside a bathroom is a different story. During a hot shower, humidity levels can spike from 30% to over 90% in minutes, creating a cycle of material expansion and contraction that tests every joint and finish. Unlike kitchens, where cabinets primarily deal with surface splashes, bathroom units must endure sustained steam and rapid temperature fluctuations.
Space is another major factor for the installer. We often navigate tight quarters, working around existing plumbing stacks, radiant floor heating, or wall-to-wall tiling that limits maneuverability. It is important to differentiate between the main vanity, which must house complex plumbing and support the weight of a sink, and auxiliary storage cabinets like linen towers or over-toilet units. Each requires a specific mounting approach to ensure functional designs remain durable and safe. A professional cabinet installation must account for these spatial constraints, ensuring that the unit is perfectly leveled despite floors that often pitch slightly toward shower drains. Providing a detail-focused service means anticipating how these environmental stressors will affect the cabinetry over the next decade, rather than just focusing on the initial aesthetic.
What is the Best Material for a Bathroom Cabinet in Humid Environments?
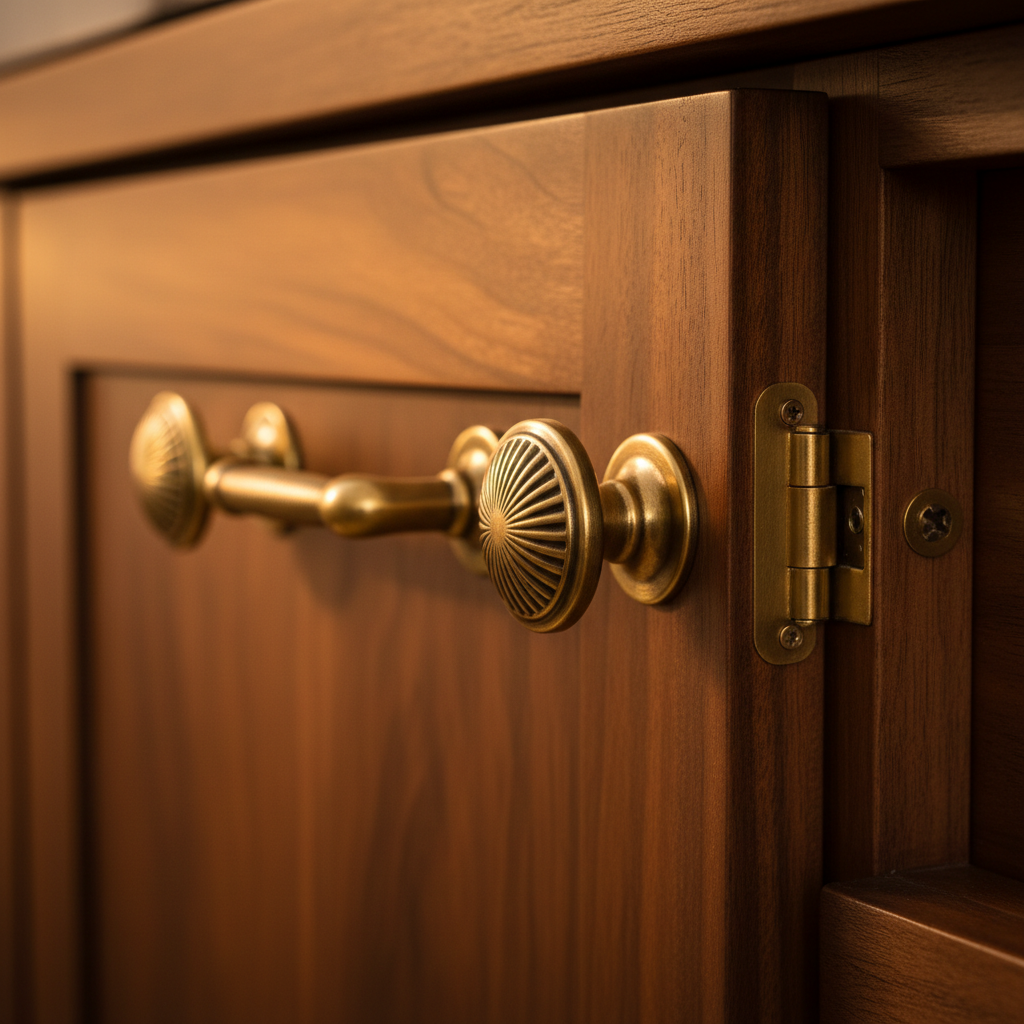
Selecting the right material for a bathroom cabinet installation requires moving beyond aesthetics to evaluate how a substrate reacts to high-density water vapor. In our experience across Fillmore, the most common failure point in cabinetry isn't the finish, but the core material’s reaction to moisture. Standard Medium Density Fiberboard (MDF) is particularly susceptible to a process known as wicking. Because standard MDF is composed of compressed wood fibers and urea-formaldehyde resins, it acts like a sponge when steam hits an unsealed edge. Once moisture penetrates the core, the fibers expand, causing the laminate to peel and the structure to lose its integrity.
To combat this, we recommend Moisture Resistant (MR) MDF or Marine Grade Plywood. MR MDF utilizes specific water-repellent resins that create a tighter bond between fibers, making it significantly more stable in high-humidity zones. However, for the highest level of durability, Marine Grade Plywood is the industry benchmark. It is manufactured with waterproof glues and high-quality veneers that contain no internal voids, preventing moisture from becoming trapped within the panel.
Material | Moisture Resistance | Structural Stability | Recommended Use |
|---|---|---|---|
Standard MDF | Low | Moderate | Dry areas only; avoid bathrooms |
MR MDF | High | High | Vanities and storage in humid rooms |
Marine Plywood | Superior | Very High | High-end functional designs and wet rooms |
Solid Wood | Moderate (Needs Sealing) | Variable | Decorative accents and door faces |
Solid wood remains a sought-after option for its natural grain, but it demands technical precision during the installation phase. Wood is an organic material that breathes; without professional-grade sealing on all six sides, it is prone to cupping or warping as it reacts to the rapid temperature changes of a bathroom. As installers providing a detail-focused service, we look specifically for sealed edges on every panel. Even the most moisture-resistant core will eventually fail if the edges are left raw or poorly banded. Ensuring that every plumbing cutout and joint is treated with a sealant is the only way to prevent moisture from entering the core and compromising the cabinet’s longevity.
Preparation: Finding the High Point and Marking Your Layout
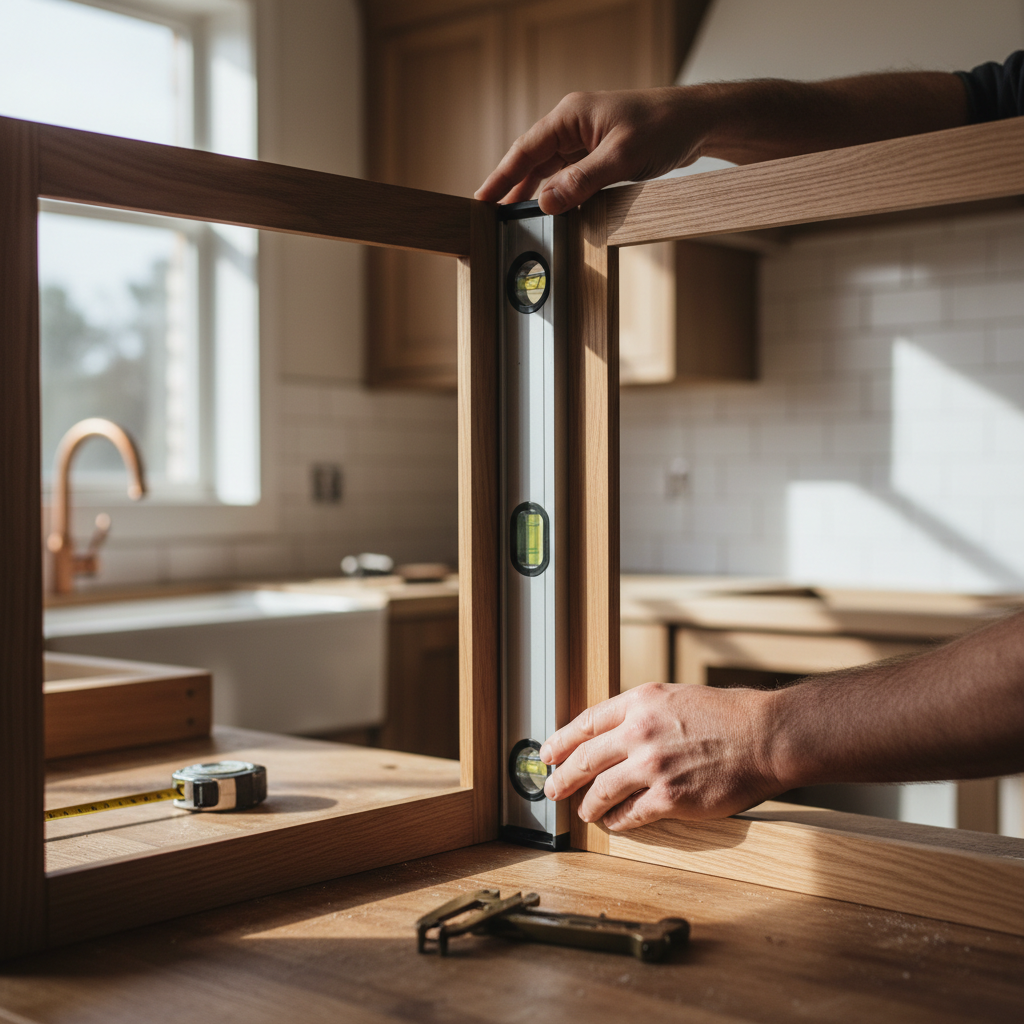
Before a single screw is driven, the success of a professional cabinet installation depends on a mathematically accurate layout. Bathroom floors are rarely perfectly flat; they are often engineered with a subtle pitch toward floor drains or have settled unevenly in older Fillmore homes. We begin by using a four foot spirit level or a rotating laser to scan the floor area where the vanity will sit. Identifying the highest point is critical. If you set your layout based on a low spot, you will be forced to cut into the cabinet base or shim the unit excessively high, which complicates the installation of base molding or toe kicks.
Once the high point is established, mark the finished cabinet height on the wall using that point as your zero mark. While traditional bathroom vanity cabinet height was once 30 to 32 inches, "comfort height" is now the standard for new constructions across Utah. At 36 inches, this height aligns with kitchen counters and offers better ergonomics. Standard vanity depth is typically 21 inches, though we often install 18 inch depths in smaller powder rooms to maintain proper clearances.
Dimension Type | Standard Measurement | Modern Application |
|---|---|---|
Traditional Height | 32" | Children's bathrooms |
Comfort Height | 36" | Modern functional designs |
Standard Depth | 21" | Standard residential layouts |
Narrow Depth | 18" | Small space optimization |
After scribing the horizontal level line, we locate and mark the wall studs. This detail-focused service ensures the cabinet is anchored into structural members rather than just drywall, providing the stability needed for heavy stone countertops. We then transfer these marks, along with plumbing rough-in locations, to the back of the cabinet to prepare for precise cutouts.
How to Attach a Bathroom Cabinet to the Wall Securely
After the layout marks are set, the structural integrity of the installation depends on locating the exact center of the wall studs. For a secure professional cabinet installation, each unit should be anchored to at least two vertical studs. We utilize #8 or #10 heavy duty cabinet screws featuring a wide, flat washer head. These fasteners are engineered for shear strength, unlike standard drywall screws which are brittle and can snap under the significant weight of quartz or granite countertops.
Attaching a cabinet to a tiled wall requires a specific technical approach to avoid fracturing the surface. We utilize diamond tipped masonry bits rather than standard carbide bits. To prevent the tile from cracking due to thermal stress, the drill must be operated at a low RPM while applying constant water cooling to the bit. Once the bit has cleared the thickness of the tile and reached the wooden substrate, we switch to a standard wood bit to finish the pilot hole into the stud. This ensures a clean entry point that will be completely hidden by the cabinet back.
If the project involves multiple units, such as a double vanity or a side-mounted linen tower, the cabinets must be joined to one another before they are permanently anchored to the wall. We use face frame clamps to pull the units together, ensuring the front faces and top edges are perfectly flush. By pre-drilling and driving screws through the side stiles of the frames, we create a single, rigid assembly. This detail-focused service eliminates unsightly gaps and prevents the units from shifting independently as the house settles. Once the assembly is joined and checked for level, the final anchoring screws are driven through the back rail into the studs. This sequence ensures that the functional designs remain stable and aligned for decades of daily use.
Maximizing Space: Sizes and Layouts for Small Bathrooms
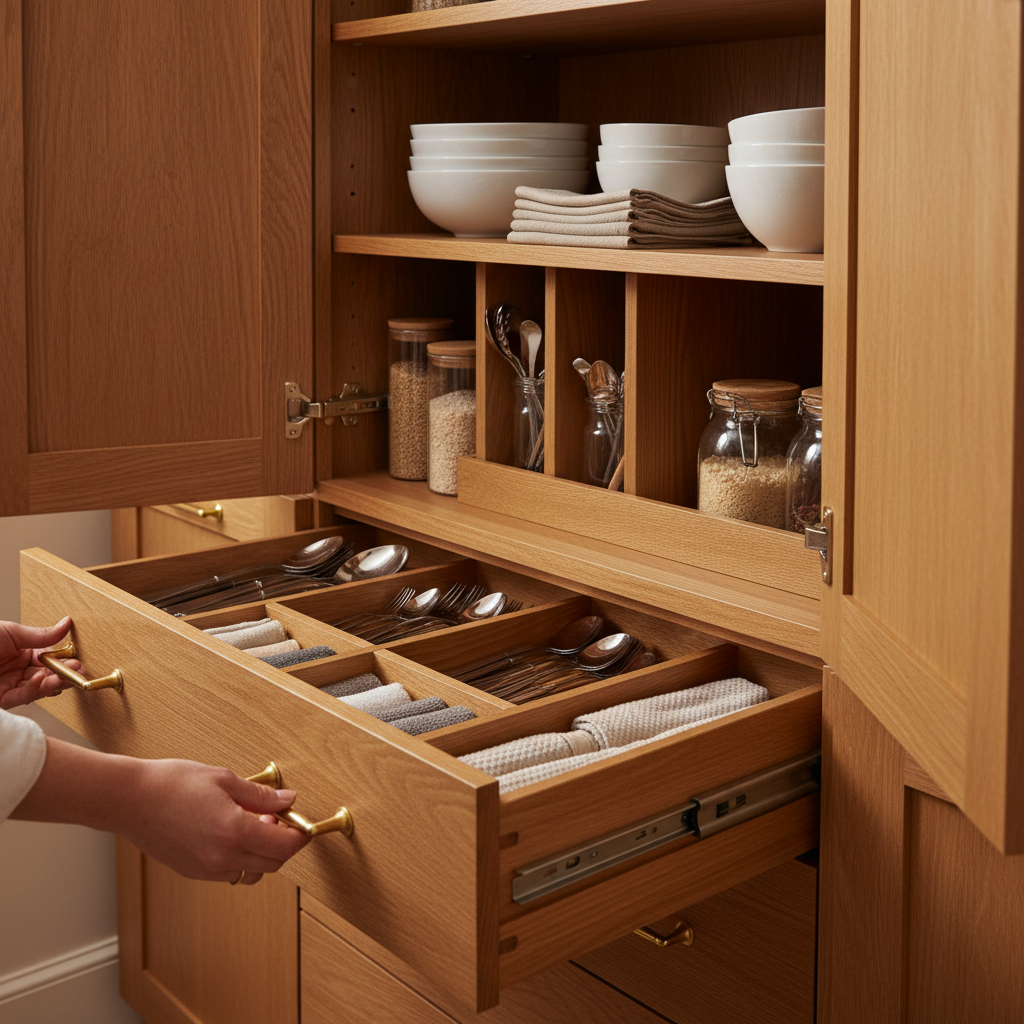
Once the units are securely anchored, the focus shifts to spatial efficiency. In many Fillmore renovations, especially in secondary bathrooms or powder rooms, selecting the correct bathroom vanity cabinet sizes is a balancing act between floor space and storage needs. Common widths start at 24 inches for narrow footprints, scaling up to 72 inches for double vanities. For extremely confined layouts, we often recommend a bathroom cabinet over toilet installation. This vertical approach utilizes otherwise dead space without obstructing the floor plan, though it requires precise mounting to ensure the unit does not interfere with the tank lid during maintenance.
The choice between wall mounted, or floating, and floor mounted vanities significantly impacts both the room's aesthetics and its structural requirements. Floating vanities are popular in functional designs because they reveal the floor, making a small room feel larger. However, these units demand a more robust professional cabinet installation. Because the entire weight rests on the wall, we must install reinforced wall blocking, typically 2x6 or 2x8 lumber, between the studs during the framing stage. Relying solely on standard studs without this internal support can lead to wall failure or sagging over time.
Internal organization also dictates everyday usability. While bathroom cabinet doors are standard and provide easier access to plumbing, deep drawers offer superior organization for toiletries. If you opt for drawers, we must carefully measure plumbing clearance. Unlike a kitchen cabinet, a vanity drawer often requires a U-shape cutout to wrap around the P-trap, a detail-focused service that ensures the hardware operates smoothly without impacting the drain lines.
Professional Secrets for Long Term Moisture Resistance
Longevity in high-moisture zones relies on the invisible details of the professional cabinet installation process. Once the unit is anchored, we perform a back-caulk procedure. By applying a bead of high-quality silicone along the rear edge where the cabinet meets the wall before the countertop is set, we create a primary moisture barrier. This prevents condensation or accidental spills from migrating behind the cabinet, where trapped moisture can lead to mold or structural rot that remains hidden until the damage is irreversible.
Plumbing penetrations represent another vulnerability. Every time we cut a hole for a drain or supply line, the inner core of the substrate is exposed. We treat these raw edges by sealing them with a thin layer of clear silicone or a specialized wood sealer. This detail-focused service ensures that even a minor plumbing leak won't result in the vanity wicking water into its core.
Proper leveling also serves a hydrological purpose. If a vanity is not perfectly plumb, water can pool along the back or side edges of the countertop rather than draining away. Over time, standing water can degrade the caulking bond and seep into the cabinet joints. Finally, we advise clients to ensure their ventilation systems are properly rated for the room's square footage. A high-efficiency exhaust fan is a non-negotiable component of functional designs, as it removes the ambient steam that would otherwise settle on the cabinetry finishes, preserving the investment for years to come.
Creating a bathroom that stands the test of time requires a careful balance of moisture resistant materials and precise installation techniques. By prioritizing these best practices, you can protect your investment from humidity and wear. If you want expert help ensuring your new cabinetry is installed to the highest standards, our team is ready to guide you through the process. You can learn more about our experience and how we help homeowners achieve lasting results.