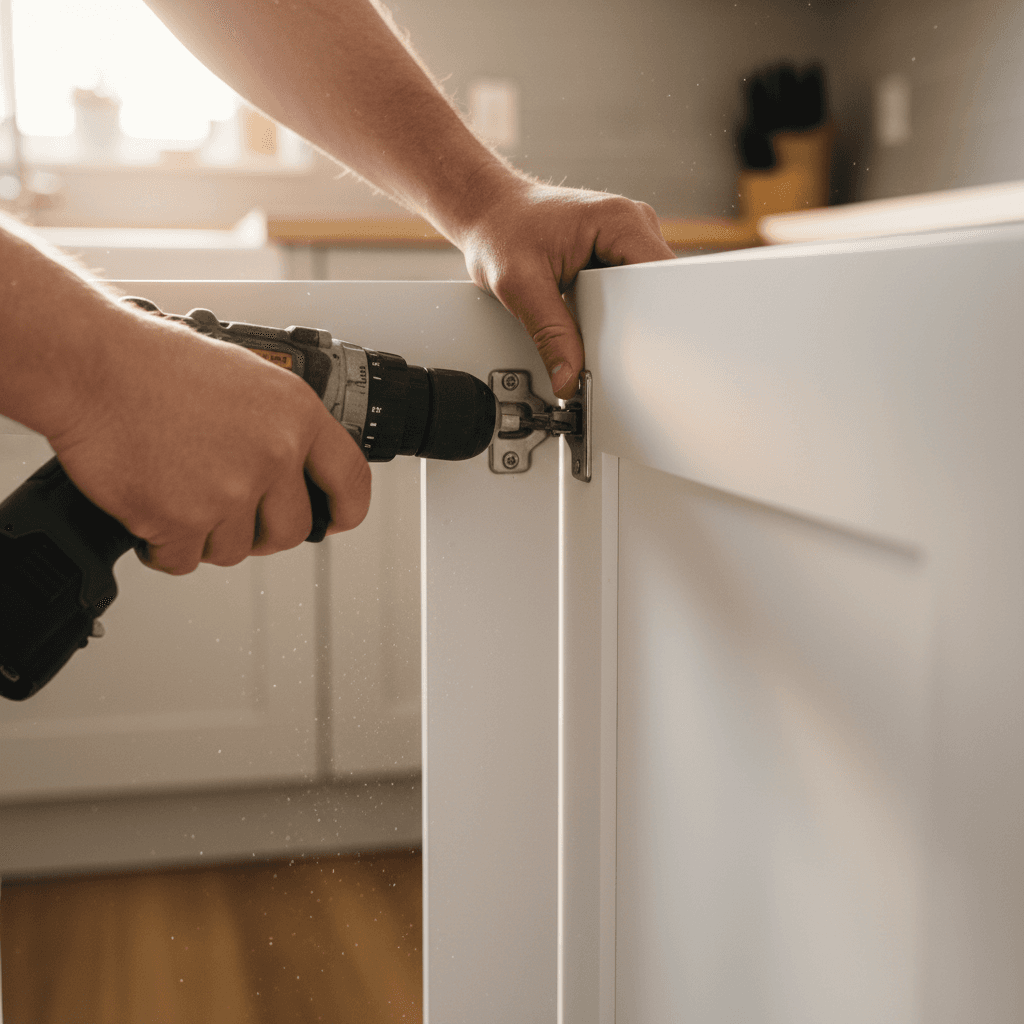
The kitchen cabinet installation process typically begins with clearing the workspace and protecting floors before contractors mount the upper wall cabinets followed by the base units. Professional installers then secure the frames, level the structures with shims, and attach doors and hardware to complete the transformation. This multi-step approach ensures all components are properly aligned and functional for long-term use in the home.
Renovating your kitchen often feels like a period of controlled chaos, particularly when the time comes to transition from design to reality. For many Fillmore homeowners, the installation day is the most stressful part of the journey because even the finest custom cabinetry requires precise execution to function correctly. A single measurement error or an unlevel floor can compromise the entire aesthetic of your Millard County home. This guide explores the professional installation process used by Gobes Cabinets to ensure structural integrity and a seamless finish. We will cover every essential phase, including site preparation, mapping the high points of your flooring, and the delicate art of scribing base cabinets for a perfect fit. By understanding these technical steps, you can approach your install day with the confidence that your investment is being handled with expert craftsmanship.
The Anatomy of a Professional Cabinet Install Day
An install day in Fillmore starts with a specific rhythm. While every property, from historic farmhouses to modern remodels and updates, presents unique wall conditions, the professional kitchen cabinet installation process relies on a rigid sequence. This structure ensures that every component supports the next, creating a kitchen that remains functional for decades.
The cadence begins with site assessment and protection, followed by technical layout mapping. Many homeowners assume a professional cabinet installation is simply about driving screws into studs. However, the Gobes Cabinets standard involves a deeper level of precision. We focus on establishing a true level line across the entire room, regardless of how much a floor might slope or a wall might bow.
In the high-desert climate of Utah, precision is a necessity, not a luxury. The dry air causes wood to contract, which can exacerbate minor misalignments over time. Unlike a DIY approach that might rely on basic bubble levels, our team utilizes modern lasers and scribing techniques to ensure structural integrity. This foundation is critical before we move into physical site preparation, as it dictates how the entire room will eventually fit together. You can see the results of this focus in our completed projects across Millard County.
Phase 1: Homeowner Preparation and Site Protection

Before our team arrives, specific preparation steps ensure the kitchen cabinet installation process moves efficiently. Homeowners should begin by completely emptying all existing cabinets and clearing off countertops. Removing all dishes, cookware, and pantry items prevents accidental damage and allows our installers immediate access to the mounting surfaces. This step is also an excellent opportunity to sort through items before they are placed into your new, more functional layout.
Logistics are equally important. We require a clear, unobstructed path from the front door or primary entry point to the kitchen. Moving furniture, floor rugs, or decorative pieces out of this high traffic zone minimizes the risk of trips and ensures that heavy cabinetry can be transported safely into the home without scuffing walls or snagging on household items.
Site protection is a hallmark of a high quality professional cabinet installation. Our team utilizes materials like Ram Board or heavy duty drop cloths to shield your flooring from consistent foot traffic, tool impact, and debris. In many Utah remodels and updates, dust migration is a primary concern for homeowners. To mitigate this, we establish a clean workspace and often use plastic sheeting to partition the kitchen from the rest of the residence. This proactive approach prevents sawdust and construction particles from settling into upholstery or HVAC systems throughout your Millard County home. Taking these steps on the morning of the install protects your investment and ensures our focus remains entirely on the precision of the fit.
Phase 2: Finding the High Point and Mapping the Layout
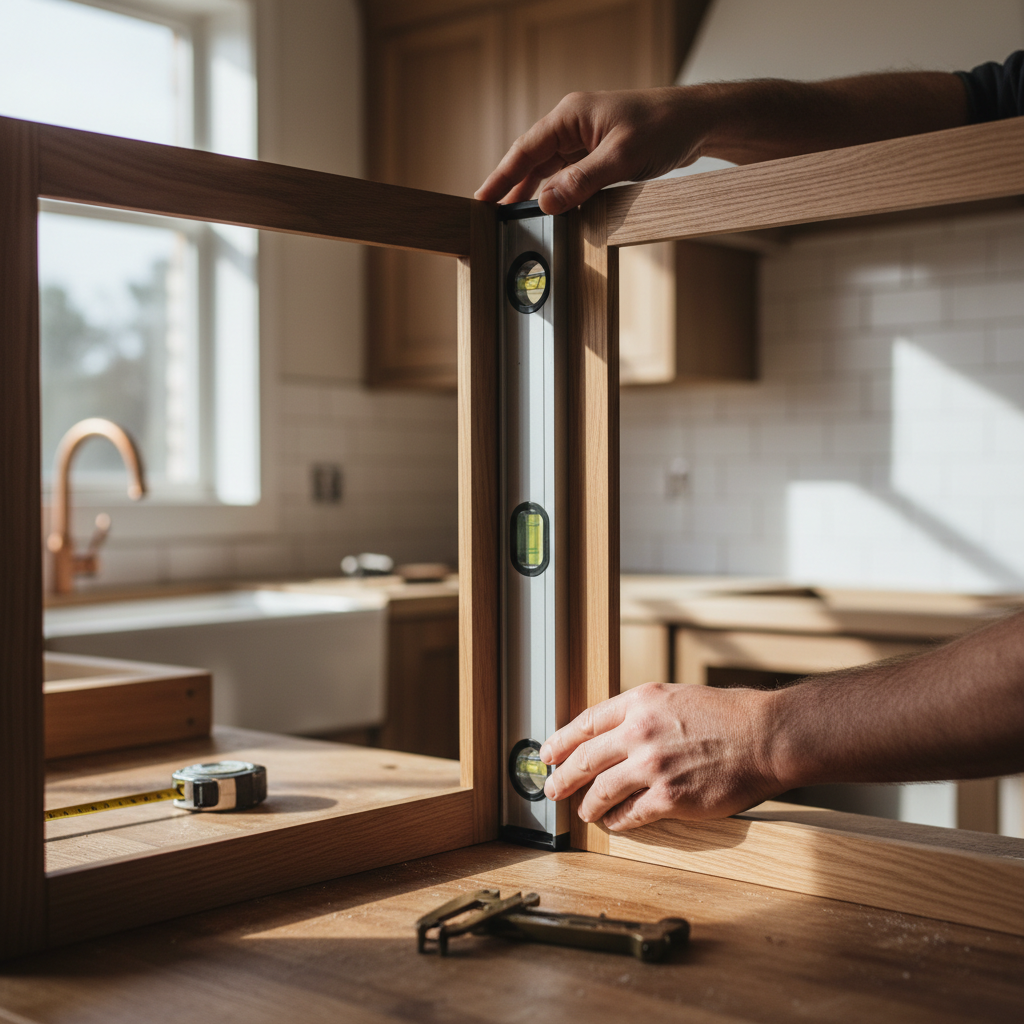
Once the site is protected, the technical mapping begins. This is the most critical stage of the kitchen cabinet installation process because it dictates the alignment of every subsequent piece. We start by deploying a self-leveling laser to identify the highest point of the floor. In many Fillmore ranch-style or historic homes, floors have settled over several decades. Finding the high point is essential; if we were to start at a low point, the cabinets situated over a rise in the floor would eventually sit too high, making it impossible to keep the countertops level or fit standard appliances like dishwashers.
From this high point, our team strikes a level reference line across the perimeter of the room. This line serves as the master guide for the top of the base cabinets, typically set at 34 1/2 inches above the floor. We then use high-accuracy sensors to locate and mark the center of every wall stud. Relying on visual cues or tapping the wall is insufficient for a professional cabinet installation. Each cabinet must be anchored directly into the framing to support the significant weight of the boxes, stone countertops, and stored items.
Homeowners often ask if cabinets should be installed before the drywall is hung. The answer is always no. Cabinets require a finished, flat, and stable wall surface to ensure they remain plumb and secure. Installing over bare studs would lack the necessary backing and lead to significant gaps or structural failure. This mapping phase also allows us to verify that the remodels and updates align with the plumbing and electrical rough-ins before a single cabinet is hoisted into place. By establishing this precision layout, we account for the wall irregularities common in older mountain-region builds, ensuring a flush fit that looks as though it was built with the original house. This step is a prerequisite for the completed projects we take pride in throughout Millard County.
Phase 3: Installing Upper Cabinets for Maximum Stability
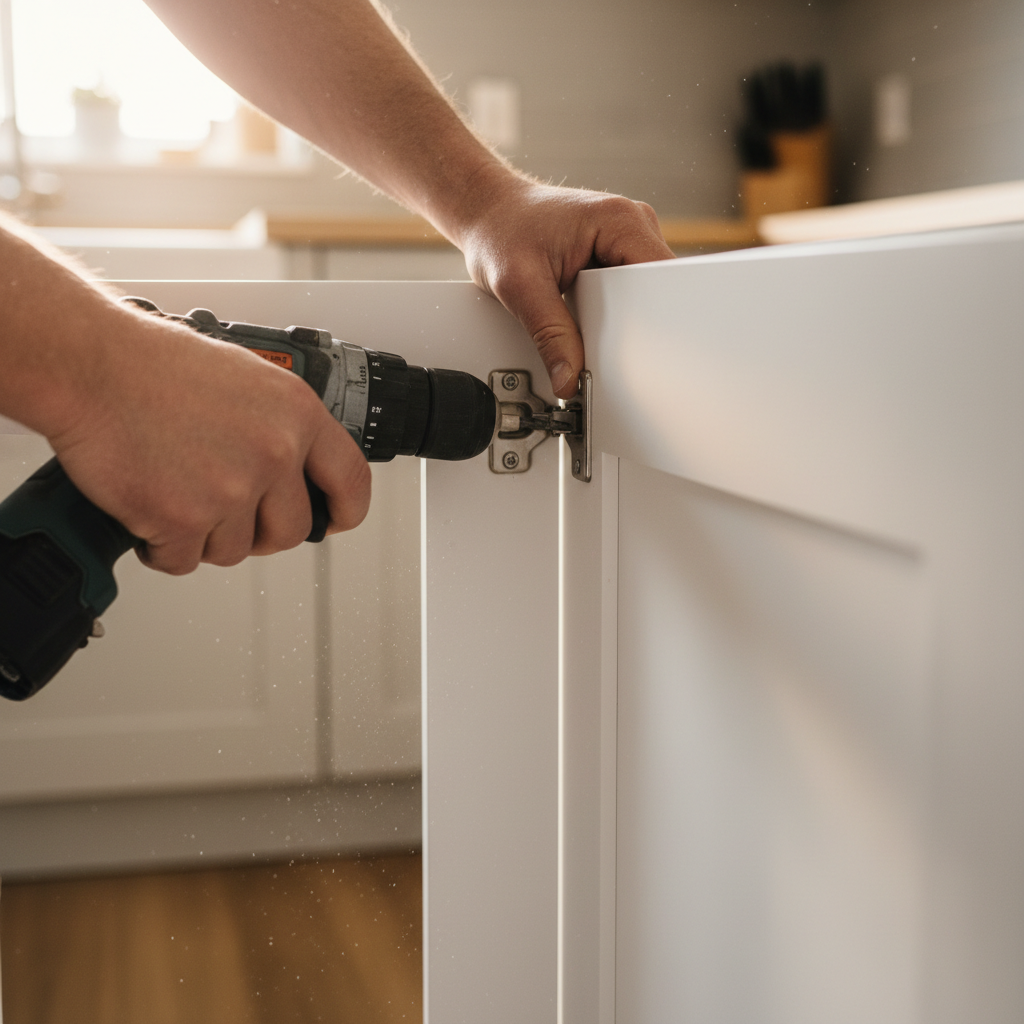
With the layout lines clearly marked, we begin the physical kitchen cabinet installation process by hanging the upper units. Installing wall cabinets before the base units is a standard industry practice that protects your investment. By securing the uppers first, our team avoids reaching over newly installed base cabinets, which significantly reduces the risk of accidental scratches or impact damage to lower doors and frames. This sequence also allows for better ergonomic positioning, ensuring that every screw is driven with maximum precision and torque.
To ensure the highest level of stability, we utilize a temporary ledger board. This straight piece of lumber is screwed into the studs exactly at the line where the bottom of the wall cabinets will rest. The board bears the weight of the cabinet during the mounting process, allowing for perfect alignment before we drive permanent fasteners. For a professional cabinet installation, we use heavy duty, washer head cabinet screws specifically designed to bite deep into the wooden studs. These screws provide the shear strength necessary to hold hundreds of pounds of weight, a critical factor for kitchens that will store heavy stoneware or bulk supplies.
Properties in the Fillmore area, especially those undergoing remodels and updates in older neighborhoods, often feature walls that are not perfectly plumb. A wall might bow outward in the center or tilt slightly toward the ceiling. We address these irregularities by using tapered shims behind the cabinet boxes. This prevents the cabinet frame from twisting when the screws are tightened, which would otherwise cause doors to hang crookedly or hinges to bind. This meticulous approach ensures that the uppers are not only level but also structurally sound, a quality consistent across all our completed projects in Millard County.
Phase 4: Setting and Scribing Base Cabinets
Once the upper units are securely fastened, the focus shifts to the kitchen base cabinet installation. This stage requires the highest degree of floor-to-wall precision. Using the reference line established during Phase 2, our team positions the base units, beginning from the high point of the floor or a corner. Because no floor in Fillmore is perfectly flat, we use tapered cedar or composite shims to lift and tilt the cabinets until the top frames align perfectly with the laser level. This ensures that when the stone or laminate countertops are templated, they rest on a dead-level surface, preventing future cracking or backsplash gaps.
Scribing is the professional technique that separates a high-end professional cabinet installation from a standard one. In many Millard County homes, walls may have a slight wave or 'belly.' Scribing involves using a compass-like tool to trace the wall’s irregular profile onto the side or back of the cabinet panel. We then carefully trim the wood along that line with a plane or saw. This custom trimming allows the cabinet to sit flush against the wall without visible gaps, creating a built-in look that accommodates the house's natural movement. This level of detail is a standard feature in our completed projects and is vital for maintaining the structural integrity of the layout.
How to Install Base Cabinets for an Island
Installing a kitchen island involves a different set of technical requirements since there are no walls for support. To secure an island, we first bolt wooden cleats or internal floor anchors directly into the subfloor. The base cabinets are then sleeved over these anchors and screwed into place from the inside. We also coordinate the 'electrical chasing' during this phase. This involves ensuring the cabinet boxes are properly positioned over the floor-mounted electrical conduits, allowing for the seamless integration of outlets and appliances that meet local building codes for remodels and updates. This methodical approach guarantees the island remains immovable even under the weight of heavy granite tops.
Phase 5: Finishing Touches, Doors, and Hardware
The final stage of the kitchen cabinet installation process involves transitioning from raw structure to finished cabinetry. This begins with the mounting of doors and drawer fronts. We utilize high-quality three-way concealed hinges, which are essential for achieving professional results. These hinges allow our installers to fine-tune the alignment in three dimensions: height, side-to-side, and depth. This micro-adjustment process ensures that all gaps between doors, known as reveals, are perfectly uniform across the entire run of cabinetry.
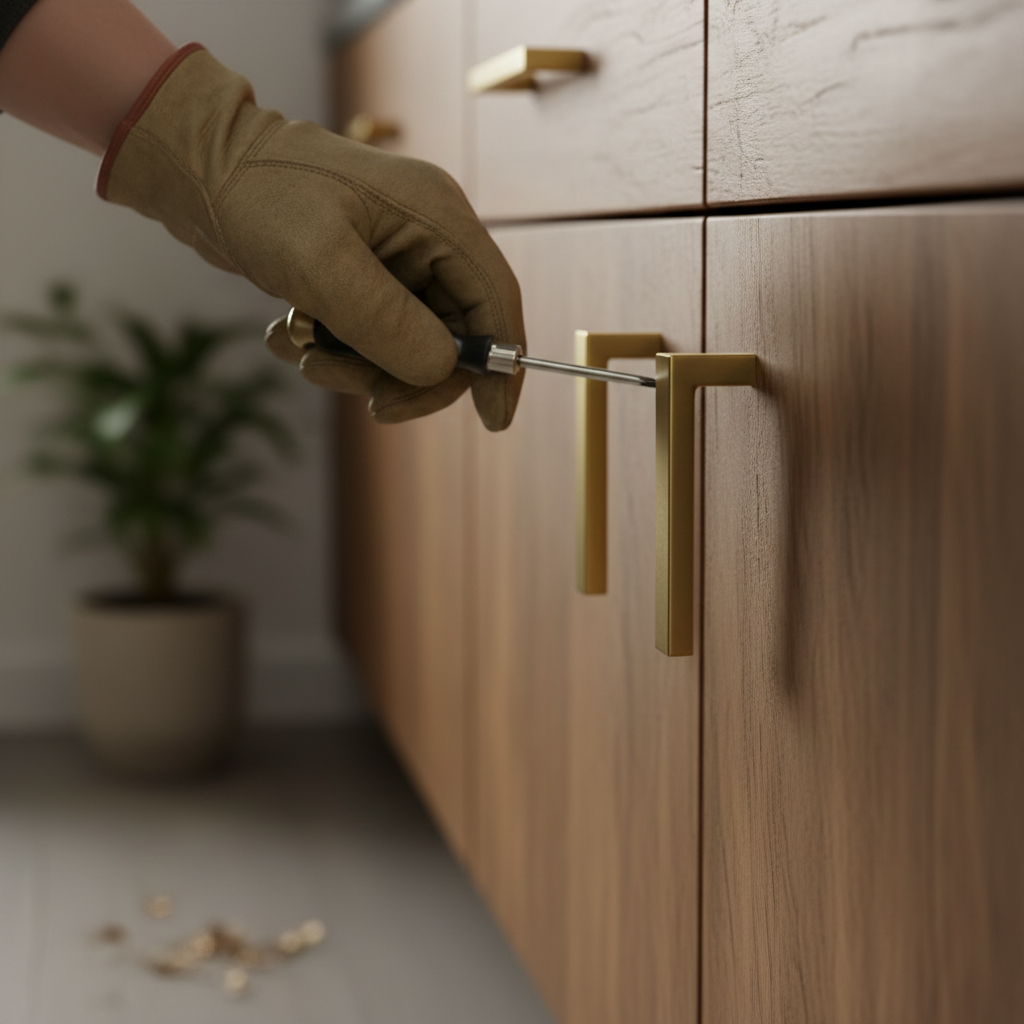
Once the doors are perfectly leveled, we move to kitchen cabinet knobs installation. To ensure absolute symmetry, Gobes Cabinets utilizes specialized drilling jigs rather than manual marking. These tools provide a consistent placement for every handle and pull, preventing the slight offsets that often occur with DIY methods. Precision here is vital, as even a sixteenth of an inch of variance is visible to the naked eye against the straight lines of the cabinet doors.
The transformation is completed with the installation of toe kicks and molding. We fit toe kicks along the base to hide the structural shims and create a recessed space for foot clearance. For the upper cabinets, we apply crown molding or scribe molding to bridge the gap between the cabinet tops and the ceiling. This decorative finish conceals any remaining wall inconsistencies and gives the project the polished, integrated look seen in our completed projects. These final details are what officially turn a Millard County job site into a functional, high-value living space.
Common Installation Questions for Millard County Homeowners
Homeowners in Millard County often ask how long the kitchen cabinet installation process takes. For most residential projects, the timeline ranges from one to three days, depending on the size of the room and the complexity of the moldings. To streamline your remodels and updates, we suggest painting your walls before the team arrives. This approach provides better coverage behind the boxes, leaving only minor touch ups for after the install is complete.
It is also important to consider Utah’s dry climate. Our professional cabinet installation methods include specific tolerances for seasonal humidity swings. By allowing for natural wood expansion and contraction during the fitting stage, we ensure the structural integrity and alignment of our completed projects remains intact throughout the year in Fillmore.
Understanding the installation timeline and preparation steps ensures your project runs smoothly. While many homeowners enjoy being part of the process, managing the finer details of a professional fit requires precision. If you want expert help navigating your renovation in Fillmore, our team is here to guide you through every stage. You can learn more about us to see how we prioritize quality craftsmanship. We believe a stress-free transformation starts with the right partnership; our goal is to bring your vision to life with ease.